Archiving Proxmox VMs (and how to restore them)
Creating an archive
Unlike ESX/VMWare, it doesn’t appear that proxmox has a simple “export ovf”
I WAS going to tell you all the fun commands I used to homebrew a solution with qemu-img convert and qm config show, but then I found this: https://github.com/FikesMedia/Proxmox-OVA-Export
OK, Recalibrating…
Pre-reqs
DEPS=(
  "qm:pve-manager"
  "jq:jq"
  "qemu-img:qemu-utils"
  "tar:tar"
  "sha256sum:coreutils"
  "uuidgen:uuid-runtime"
  "bc:bc"
)

missing=()
for dep in "${DEPS[@]}"; do
  cmd="${dep%%:*}"
  pkg="${dep##*:}"
  command -v "$cmd" >/dev/null 2>&1 || missing+=("$pkg")
done

if [ "${#missing[@]}" -eq 0 ]; then
  echo "All required tools are already installed."
  exit 0
fi

echo "Missing packages: ${missing[*]}"
apt update
apt install -y "${missing[@]}"
Installation
Now I tested it and liked it, but didn’t appreciate the lack of customization to the temp dir, so Claude and I tweaked it. Here’s my copy
Copy that content to /usr/local/bin/ovaexport.sh and test it!
root@pve:~# mkdir /pve_tank/images/temp;
root@pve:~# ovaexport.sh
[ERROR] 2026-07-22 07:24:55: Both --vmid and --export-file are required.
Usage: /usr/local/bin/ovaexport.sh --vmid <VMID> --export-file <output_ova_filepath> [--temp-file-location <tmp_dir>]

  --vmid                  The numeric ID of the Proxmox VM to export.
  --export-file           The full path where the .ova file will be saved.
  --temp-file-location    Optional. Directory to use for temporary work files instead of ${TMPDIR:-/tmp}.
                          Useful when the default tmp location doesn't have enough space for disk conversions.

Example: /usr/local/bin/ovaexport.sh --vmid 108 --export-file /mnt/export/vm108.ova --temp-file-location /mnt/export/tmp

This script must be run as root on the Proxmox VE host.
Looks like it’s ready
Archive it
Ok, fire in the hole!
root@pve:/pve_tank/images# ovaexport.sh --vmid 104 --export-file /pve_tank/images/exports/nginx-proxy.ova --temp-file-location /pve_tank/images/temp/
[INFO] 2026-07-22 07:32:12: Starting OVA export for VMID 104 to /pve_tank/images/exports/nginx-proxy.ova
[INFO] 2026-07-22 07:32:12: Using temporary directory: /pve_tank/images/temp/ovaexport.104.JGd0RT
[INFO] 2026-07-22 07:32:12: Fetching configuration for VM 104...
[INFO] 2026-07-22 07:32:13: VM Name: nginx-proxy
[INFO] 2026-07-22 07:32:13: vCPUs: 2 (1 sockets, 2 cores/socket)
[INFO] 2026-07-22 07:32:13: Memory: 2048 MB
[INFO] 2026-07-22 07:32:13: Proxmox OS Type: l26 -> Mapped OVF GuestOSID: otherGuest64
[INFO] 2026-07-22 07:32:13: Proxmox Machine Type: i440fx -> OVF VMX Type: vmx-19
[INFO] 2026-07-22 07:32:13: Fetching storage configuration...
[INFO] 2026-07-22 07:32:14: Processing virtual disks...
[INFO] 2026-07-22 07:32:14: Found Proxmox disk: ide2 -> pve-tank:vm-104-cloudinit,media=cdrom,size=4M
[INFO] 2026-07-22 07:32:14: Skipping CD-ROM entry: ide2
[INFO] 2026-07-22 07:32:15: Found Proxmox disk: scsi0 -> pve-tank:vm-104-disk-0,format=raw,size=13G
[INFO] 2026-07-22 07:32:15: Using ZFS zvol block device path: /dev/zvol/pve_tank/vm-104-disk-0 for pve_tank/vm-104-disk-0
[INFO] 2026-07-22 07:32:15: Converting disk scsi0 (/dev/zvol/pve_tank/vm-104-disk-0, format: raw) to /pve_tank/images/temp/ovaexport.104.JGd0RT/disk-0.vmdk (streamOptimized VMDK)...
    (9.00/100%)
...
    (100.00/100%)
[INFO] 2026-07-22 07:37:51: Disk conversion successful for disk-0.vmdk.
[INFO] 2026-07-22 07:37:51: Generating OVF file: /pve_tank/images/temp/ovaexport.104.JGd0RT/nginx-proxy.ovf
[INFO] 2026-07-22 07:37:53: OVF file generated: /pve_tank/images/temp/ovaexport.104.JGd0RT/nginx-proxy.ovf
[INFO] 2026-07-22 07:37:53: Generating manifest file: /pve_tank/images/temp/ovaexport.104.JGd0RT/nginx-proxy.mf
[INFO] 2026-07-22 07:37:55: Manifest file generated: /pve_tank/images/temp/ovaexport.104.JGd0RT/nginx-proxy.mf
[INFO] 2026-07-22 07:37:55: Creating OVA package: /pve_tank/images/exports/nginx-proxy.ova
[INFO] 2026-07-22 07:39:54: OVA package created successfully: /pve_tank/images/exports/nginx-proxy.ova
[INFO] 2026-07-22 07:39:54: Export complete for VM 104.
[INFO] 2026-07-22 07:39:54: Cleaning up temporary directory: /pve_tank/images/temp/ovaexport.104.JGd0RT
Restoring an archived VM (ova)
More Pre-reqs
First, check your /var/tmp space
root@pve:~ df -h /var/tmp
Filesystem            Size  Used Avail Use% Mounted on
/dev/mapper/pve-root   41G  8.7G   31G  23% /
Now let’s create a new (in my case) Directory storage location to prevent future issues. We’ll use this for ISOs, Images, Archival holding, Imported qcow2, ovas, etc. I’m putting it on my zfs filesystem because it’s huge
First make directories
mkdir -p /pve_tank/images/{exports,imports,isos}
Go to Datacenter, Storage, and verify one of you storage locations is enabled for Import and Disk Image (I just selected all)
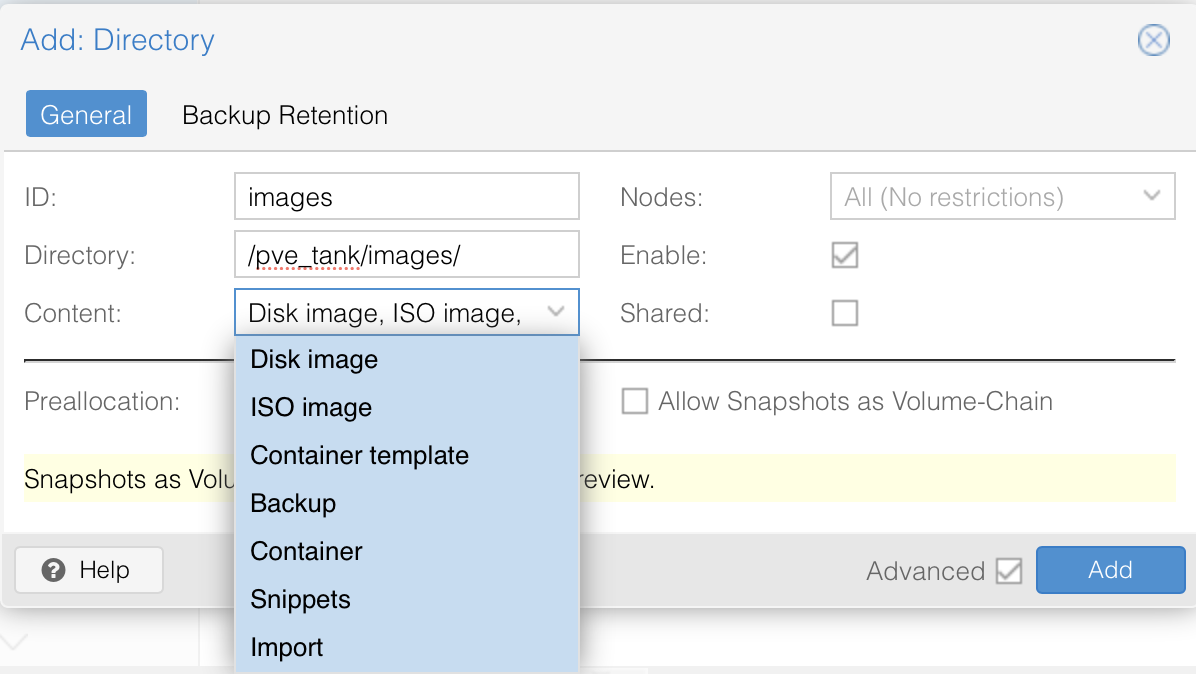
While the pve-tank ZFS storage does say that it’s enabled for Disk Images you’ll get a further error that it’s not file-based if you try to use that for the temp location. Just use local if you can
Somehow get that ova to a safe location and get ready to upload it to proxmox
Click on that storage location, Import, upload your ova
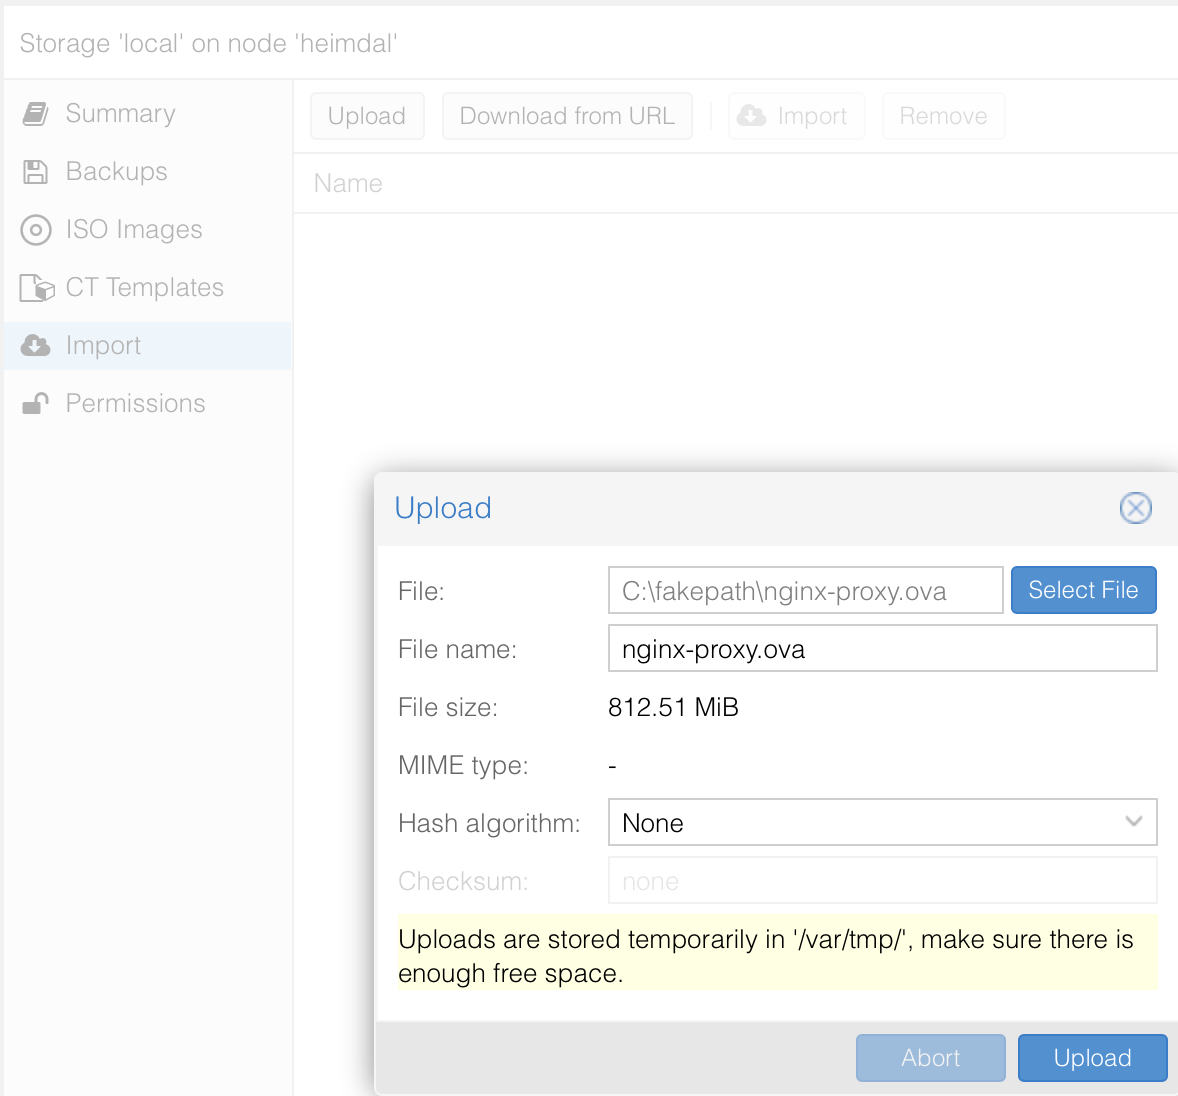
Hit Upload
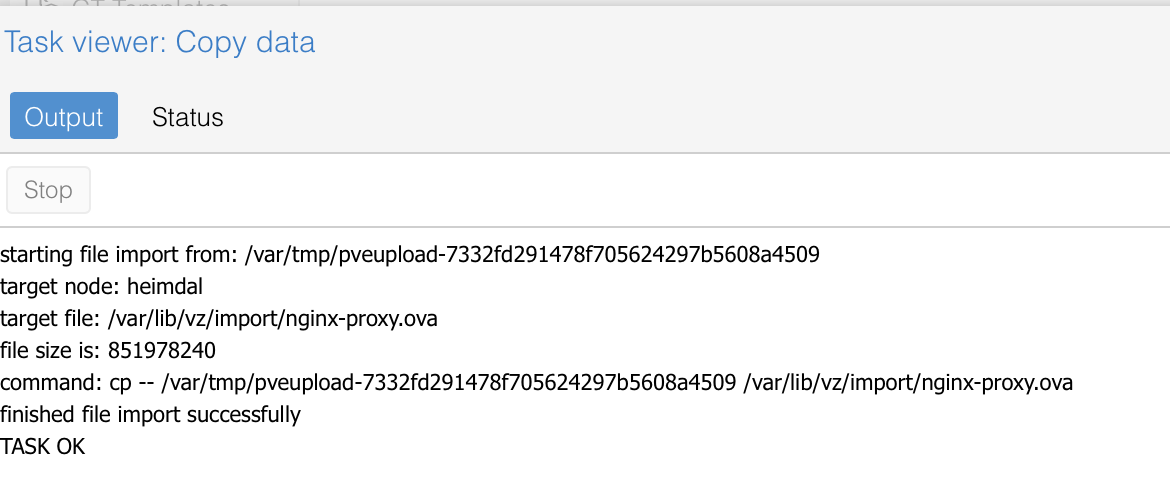
Looking good!
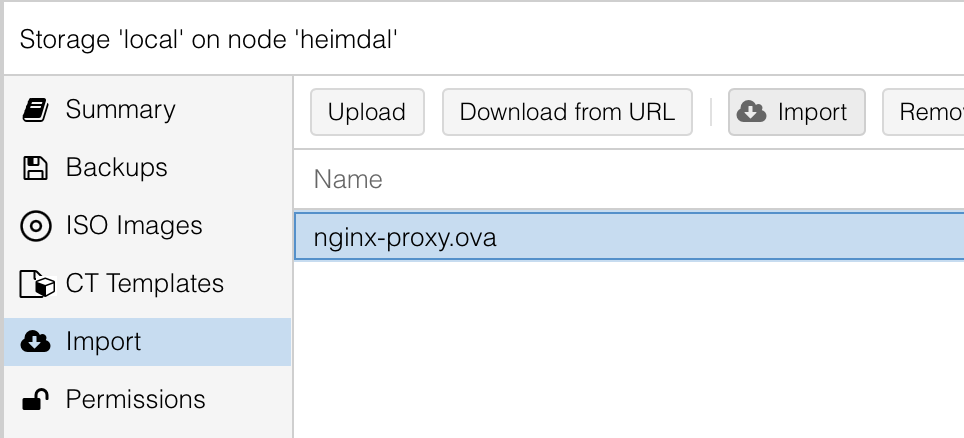
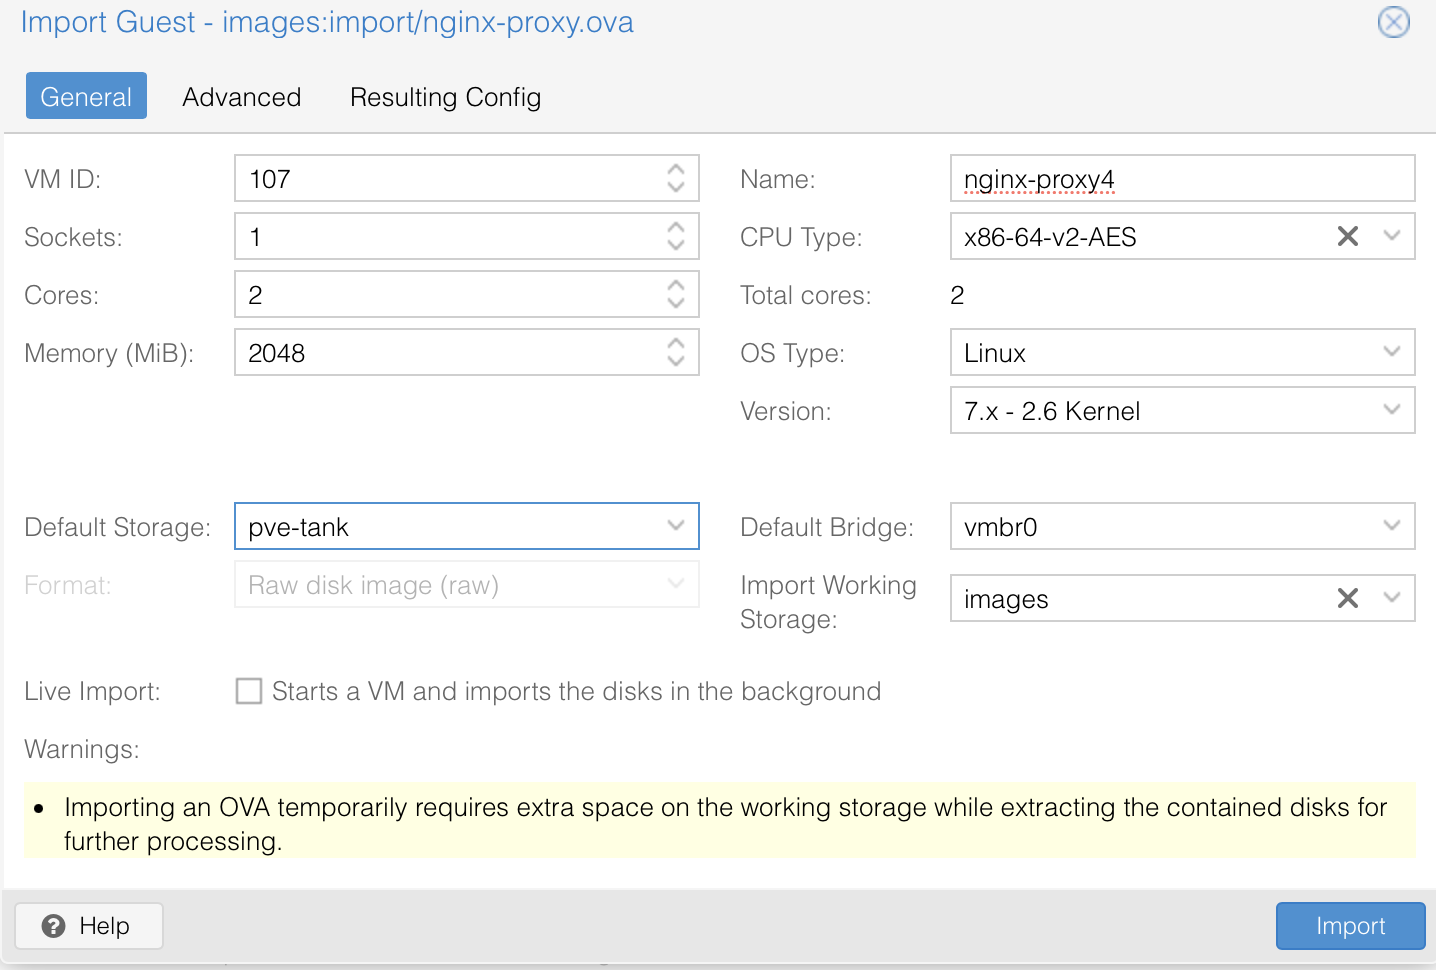
Click on the image and hit Import
Choose your new storage location (pve-tank) and whatever else you want to change
And boot
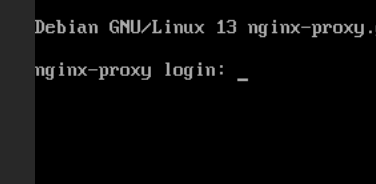
Viola!